BESCHRÄNKTE GARANTIE
HAFTUNGSAUSSCHLUSS
Instruções de
Segurança Importantes
Um eine Gefährdung
durch Feuer bzw.
Stromschlag auszuschließen, darf
dieses Gerät weder Regen oder
Feuchtigkeit ausgesetzt werden
noch sollten Spritzwasser oder
tropfende Flüssigkeiten in das Gerät
gelangen können. Stellen Sie keine
mit Flüssigkeit gefüllten Gegenstände,
wie z. B. Vasen, aufdasGerät.
Achtung
Die Service-Hinweise sind
nur durch qualiziertes
Personal zu befolgen. Umeine
Gefährdung durch Stromschlag zu
vermeiden, führen Sie bitte keinerlei
Reparaturen an dem Gerät durch,
dienicht in der Bedienungsanleitung
beschrieben sind. Reparaturen
sind nur von qualiziertem
Fachpersonaldurchzuführen.
1. Lesen Sie diese Hinweise.
2. Bewahren Sie diese Hinweise auf.
3. Beachten Sie alle Warnhinweise.
4. Befolgen Sie alle
Bedienungshinweise.
5. Betreiben Sie das Gerät nicht in
der Nähe vonWasser.
6. Reinigen Sie das Gerät mit einem
trockenen Tuch.
7. Blockieren Sie nicht die
Belüftungsschlitze. Beachten
Sie beim Einbau des Gerätes die
Herstellerhinweise.
8. Stellen Sie das Gerät nicht in der
Nähe von Wärmequellen auf. Solche
Wärmequellen sind z. B. Heizkörper,
Herde oder andere Wärme erzeugende
Geräte (auch Verstärker).
9. Entfernen Sie in keinem Fall
die Sicherheitsvorrichtung von
Zweipol- oder geerdeten Steckern. Ein
Zweipolstecker hat zwei unterschiedlich
breite Steckkontakte. Ein geerdeter
Stecker hat zwei Steckkontakte
und einen dritten Erdungskontakt.
Derbreitere Steckkontakt oder der
zusätzliche Erdungskontakt dient
Ihrer Sicherheit. Falls das mitgelieferte
Steckerformat nicht zu Ihrer Steckdose
passt, wenden Sie sich bitte an
einen Elektriker, damit die Steckdose
entsprechend ausgetauscht wird.
10. Verlegen Sie das Netzkabel so,
dass es vor Tritten und scharfen Kanten
geschützt ist und nicht beschädigt
werden kann. Achten Sie bitte
insbesondere im Bereich der Stecker,
Verlängerungskabel und an der Stelle,
an der das Netzkabel das Gerät verlässt,
aufausreichendenSchutz.
11. Das Gerät muss jederzeit mit
intaktem Schutzleiter an das Stromnetz
angeschlossen sein.
12. Sollte der Hauptnetzstecker
oder eine Gerätesteckdose die
Funktionseinheit zum Abschalten sein,
muss diese immer zugänglich sein.
13. Verwenden Sie nur Zusatzgeräte/
Zubehörteile, dielaut Hersteller
geeignet sind.
14. Verwenden
Sie nur Wagen,
Standvorrich-
tungen, Stative,
Halter oder Tische,
die vom Hersteller
benannt oder im Lieferumfang des
Geräts enthalten sind. Falls Sie einen
Wagen benutzen, seien Sie vorsichtig
beim Bewegen der
Wagen- Gerätkombination,
umVerletzungen durch Stolpern
zuvermeiden.
15. Ziehen Sie den Netzstecker bei
Gewitter oder wenn Sie das Gerät
längere Zeit nicht benutzen.
16. Lassen Sie alle Wartungsarbeiten
nur von qualiziertem Service-
Personal ausführen. EineWartung
ist notwendig, wenn das Gerät in
irgendeiner Weise beschädigt wurde
(z. B. Beschädigung des Netzkabels
oder Steckers), Gegenstände oder
Flüssigkeit in das Geräteinnere gelangt
sind, das Gerät Regen oder Feuchtigkeit
ausgesetzt wurde, das Gerät nicht
ordnungsgemäß funktioniert oder auf
den Boden gefallen ist.
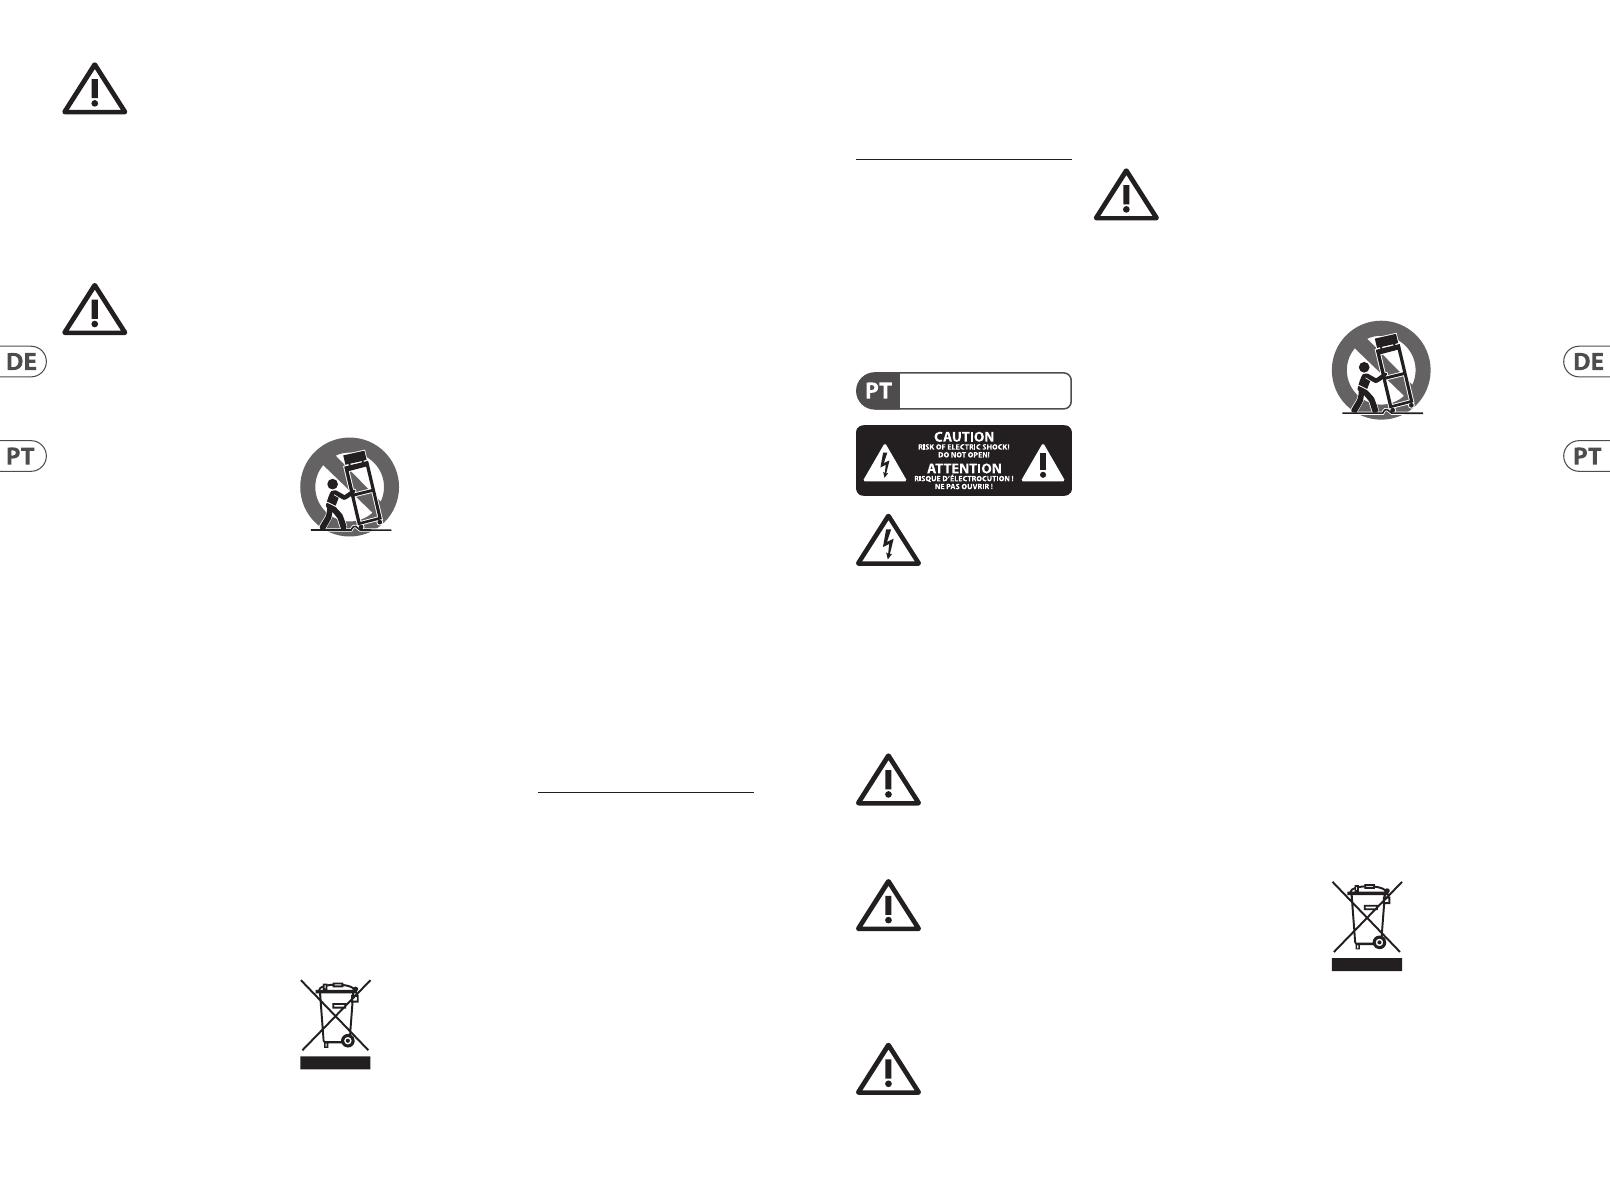
17. Korrekte
Entsorgung dieses
Produkts: Dieses Symbol
weist darauf hin, das
Produkt entsprechend
der WEEE Direktive (2012/19/EU) und
der jeweiligen nationalen Gesetze nicht
zusammen mit Ihren Haushaltsabfällen
zu entsorgen. DiesesProdukt sollte bei
einer autorisierten Sammelstelle für
Recycling elektrischer und
elektronischer Geräte (EEE) abgegeben
werden. Wegen bedenklicher
Substanzen, diegenerell mit
elektrischen und elektronischen
Geräten in Verbindung stehen, könnte
eine unsachgemäße Behandlung dieser
Abfallart eine negative Auswirkung auf
Umwelt und Gesundheit haben.
Gleichzeitig gewährleistet Ihr Beitrag
zur richtigen Entsorgung dieses
Produkts die eektive Nutzung
natürlicher Ressourcen. Fürweitere
Informationen zur Entsorgung Ihrer
Geräte bei einer Recycling-Stelle
nehmen Sie bitte Kontakt zum
zuständigen städtischen Büro,
Entsorgungsamt oder zu Ihrem
Haushaltsabfallentsorgerauf.
18. Installieren Sie das Gerät nicht
in einer beengten Umgebung, zum
Beispiel Bücherregal oder ähnliches.
19.
Stellen Sie keine Gegenstände mit
oenen Flammen, etwa brennende
Kerzen, auf das Gerät.
20. Beachten Sie bei der Entsorgung
von Batterien den Umweltschutz-
Aspekt. Batterien müssen bei einer
Batterie-Sammelstelle entsorgt
werden.
21. Dieses Gerät ist in tropischen
und gemäßigten Klimazonen bis
45° C einsetzbar.
Music Tribe übernimmt keine Haftung
für Verluste, die Personen entstanden
sind, die sich ganz oder teilweise auf
hier enthaltene Beschreibungen,
Fotos oder Aussagen verlassen haben.
Technische Daten, Erscheinungsbild
und andere Informationen können
ohne vorherige Ankündigung
geändert werden. Alle Warenzeichen
sind Eigentum der jeweiligen
Inhaber. Midas, Klark Teknik, Lab
Gruppen, Lake, Tannoy, Turbosound,
TC Electronic, TC Helicon, Behringer,
Bugera
, Oberheim, Auratone
und
Coolaudio sind Warenzeichen oder
eingetragene Warenzeichen der
Music Tribe Global Brands Ltd.
© Music Tribe Global Brands Ltd.
2021 Alle Rechte vorbehalten.
Die geltenden Garantiebedingungen
und zusätzliche Informationen
bezüglich der von Music Tribe
gewährten beschränkten
Garantie nden Sie online unter
musictribe.com/warranty.
Aviso!
Terminais marcados
com o símbolo carregam
corrente elétrica de magnitude
suciente para constituir um risco de
choque elétrico. Use apenas cabos
de alto-falantes de alta qualidade
com plugues TS de ¼" ou plugues
com trava de torção pré-instalados.
Todas as outras instalações e
modicações devem ser efetuadas por
pessoasqualicadas.
Este símbolo, onde quer
que o encontre, alerta-o
para a leitura das
instruções de manuseamento que
acompanham o equipamento. Por favor
leia o manual deinstruções.
Atenção
De forma a diminuir
o risco de choque
eléctrico, nãoremover a cobertura
(ouasecção de trás). Não existem peças
substituíveis por parte do utilizador no
seu interior. Para esse efeito recorrer a
um técnicoqualicado.
Atenção
Para reduzir o risco de
incêndios ou choques
eléctricos o aparelho não deve ser
exposto à chuva nem à humidade.
Alémdisso, não deve ser sujeito a
salpicos, nem devem ser colocados em
cima do aparelho objectos contendo
líquidos, taiscomojarras.
Atenção
Estas instruções de
operação devem ser
utilizadas, emexclusivo, por técnicos
de assistência qualicados. Para evitar
choques eléctricos não proceda a
reparações ou intervenções, que
não as indicadas nas instruções
de operação, salvo se possuir as
quali-cações necessárias. Para evitar
choques eléctricos não proceda a
reparações ou intervenções, que
não as indicadas nas instruções de
operação. Só o deverá fazer se possuir
as qualicaçõesnecessárias.
1. Leia estas instruções.
2. Guarde estas instruções.
3. Preste atenção a todos os avisos.
4. Siga todas as instruções.
5. Não utilize este dispositivo perto
de água.
6. Limpe apenas com um pano seco.
7. Não obstrua as entradas de
ventilação. Instale de acordo com as
instruções do fabricante.
8. Não instale perto de quaisquer
fontes de calor tais como radiadores,
bocas de ar quente, fogões de sala
ou outros aparelhos (incluindo
amplicadores) que produzam calor.
9. Não anule o objectivo de
segurança das chas polarizadas ou
do tipo de ligação à terra. Uma cha
polarizada dispõe de duas palhetas
sendo uma mais larga do que a outra.
Uma cha do tipo ligação à terra dispõe
de duas palhetas e um terceiro dente
de ligação à terra. A palheta larga ou
o terceiro dente são fornecidos para
sua segurança. Se a cha fornecida
não encaixar na sua tomada, consulte
um electricista para a substituição da
tomada obsoleta.
10. Proteja o cabo de alimentação de
pisadelas ou apertos, especialmente
nas chas, extensões, e no local de
saída da unidade. Certique-se de
que o cabo eléctrico está protegido.
Verique particularmente nas chas,
nos receptáculos e no ponto em que o
cabo sai doaparelho.
11. O aparelho tem de estar sempre
conectado à rede eléctrica com o
condutor de protecção intacto.
12. Se utilizar uma cha de
rede principal ou uma tomada de
aparelhos para desligar a unidade
de funcionamento, esta deve estar
sempre acessível.
13. Utilize apenas ligações/acessórios
especicados pelofabricante.
14. Utilize apenas
com o carrinho,
estrutura, tripé,
suporte, ou mesa
especicados pelo
fabricante ou
vendidos com o dispositivo.
Quandoutilizar um carrinho, tenha
cuidado ao mover o conjunto carrinho/
dispositivo para evitar danos provocados
pela terpidação.
15. Desligue este dispositivo durante
as trovoadas ou quando não for
utilizado durante longos períodos
detempo.
16. Qualquer tipo de reparação
deve ser sempre efectuado por
pessoal qualicado. É necessária uma
reparação sempre que a unidade tiver
sido de alguma forma danicada,
como por exemplo: no caso do cabo de
alimentação ou cha se encontrarem
danicados; naeventualidade de
líquido ter sido derramado ou objectos
terem caído para dentro do dispositivo;
no caso da unidade ter estado exposta
à chuva ou à humidade; seesta
não funcionar normalmente, ou se
tiver caído.
17. Correcta eliminação
deste produto: este
símbolo indica que o
produto não deve ser
eliminado juntamente
com os resíduos domésticos, segundo a
Directiva REEE (2012/19/EU) e a legislação
nacional. Este produto deverá ser levado
para um centro de recolha licenciado para
a reciclagem de resíduos de
equipamentos eléctricos e electrónicos
(EEE). O tratamento incorrecto deste tipo
de resíduos pode ter um eventual
6 7Quick Start GuideCRAVE


